I saw some pretty images of code snippets on Twitter, like this one:
Here are a couple examples showing how I do this.
— Thomas Frank (@TomFrankly) April 7, 2023
Example 1: @NotionAPI only allows for 2,000 characters per text block.
Transcripts can be much longer, so I added a function that splits the text into an array of strings, each with 3 sentences. pic.twitter.com/lKGHhSbCoi
And I wanted to make something similar for my post images. There are a few websites and apps that can generate such images, such as Carbon, Code Snapshot (a VS Code extension), CodeToImg, and Ray.
Ultimately, I decided to go with Carbon, since it was quick to use, and one of the few that allowed me to pick my colour theme. Since I like the Monokai Pro colour theme, I wanted to use it for my code snippets too.
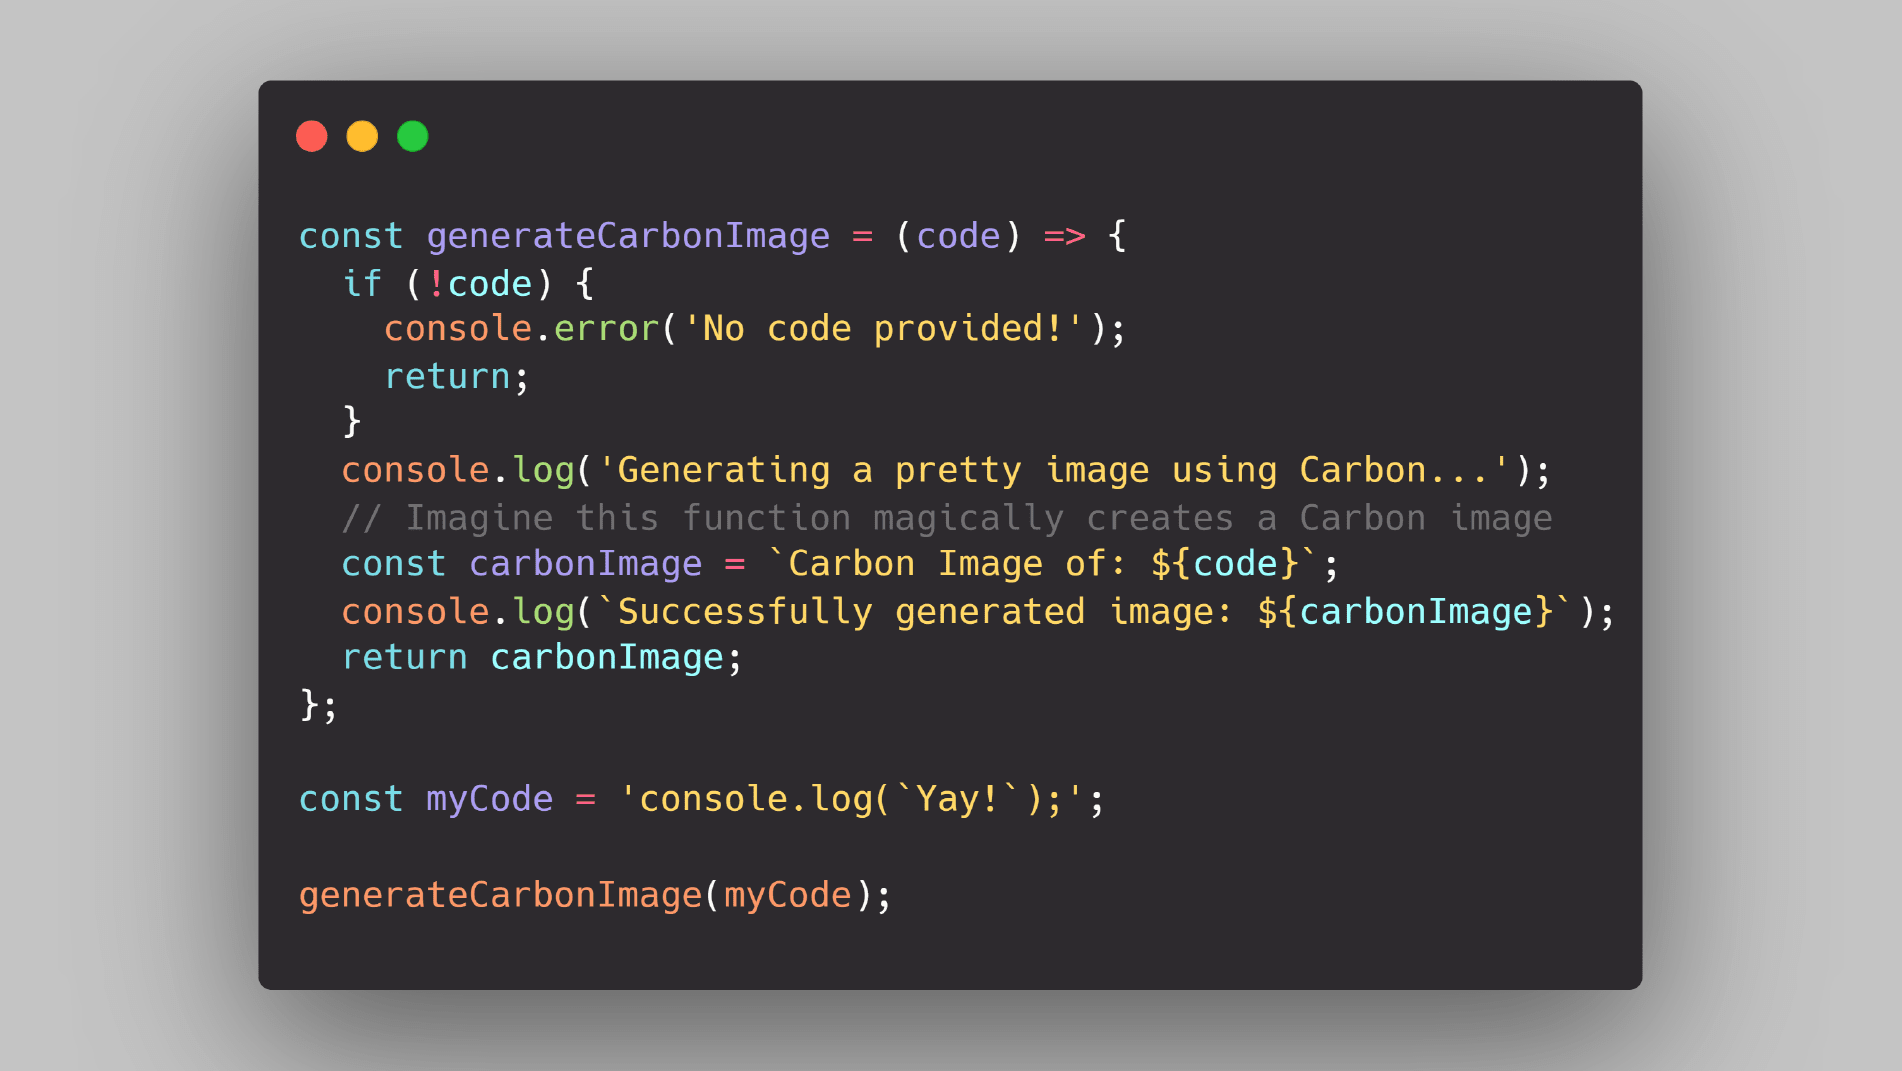
I made two versions of a Monokai Pro-inspired theme in Carbon: one with the variable colour in white, and the other with the variable colour in orange:


If you want to use these themes too, here are the HEX codes for their colours:
- Background: #2d2a2e
- Variable: #fc9867 or #fdfcfa
- Definition: #ab9df2
- Operator: #ff6188
- Number: #ab9df2
- Comment: #727072
- Text: #fdfcfa
- Attribute: #a9dc76
- Keyword: #78dce8
- Property: #a9dc76
- String: #ffd866
- Meta: #fc9867
- Image Background: #c4c4c4
After selecting my colour theme, these are my next steps in Carbon:
- I paste in my code.
- I click on the gear icon > click on “Window” > increase “Padding (horiz)” to the maximum.
- I adjust the width of the code snippet to taste.
- I click on the drop-down button next to “Export” > set “Size” to “4x” > click on “Open” or “PNG”, based on whether I want to copy the image or get the image file.
If I’m using this image for social media, I can stop here. But if I want to use this image as my blog post image, I need to resize it, while ensuring that it fits inside my image thumbnails properly.
So next, I copy and paste the image into the Adobe Illustrator file I use as a template for my blog post images.

It has a 1902px × 1071px artboard (since that is the size of my blog post images) and has guides that show where the sides of the image will be cut off in the image thumbnails.
The file also has rectangles that are coloured #c4c4c4, the background colour of the image. Annoyingly, the images Carbon exports have black bars on their left and right, so I need to cover the bars with rectangles.
I then shrink the image so it fits nicely on the artboard, while ensuring that the code snippet stays within the guides. With the alignment buttons, I also align it horizontally and vertically to the centre of the artboard. Finally, I export the image from Illustrator, ticking “Use Artboards” and unticking “Suffix”.
And it’s done! Now I have a nice code snippet I can use for social media or blog posts.